
기존 Spring Cloud Config Server에서는 설정 정보가 변경될 때 변경된 마이크로 서비스에서 /actuator/refresh 엔드포인트를 호출해 변경했다.
하지만, 매번 설정 정보가 변경될 때마다 엔드포인트를 호출해 변경정보를 반영하는 것은 여간 쉬운 일이 아니다.
이러한 문제를 해결하기 위해 클라이언트에 Spring Cloud Bus와 RabbitMQ를 이용해 설정 정보를 한 번에 변경해보자.
RabbitMQ 설치 및 실행
RabbitMQ는 AMQP(Advanced Message Queueing Protocol) 프로토콜을 구현한 메시지 브로커다.
프로젝트를 진행하는 환경에 도커를 이용해 먼저 RabbitMQ를 설치한 후 구동한다.
필자는 오라클 클라우드 인스턴스를 이용해 프로젝트를 진행하고 있고, 여러 가지 도커 컨테이너를 한 번에 구동하고 있어서 docker-compose파일을 이용해 구동했다.
version : "3.1" #파일 버전
services :
        rabbitmq:
               image: rabbitmq:3-management-alpine
               container_name: rabbitmq-stream
               ports:
                       - "5672:5672"       # RabbitMQ의 기본 서버 포트
                       - "15672:15672"     # 실제 UI를 이용해 관리 가능한 포트
               environment:
                       RABBITMQ_DEFAULT_USER: "test"  # 접속 계정
                       RABBITMQ_DEFAULT_PASS: "test"  # 접속 비밀번호
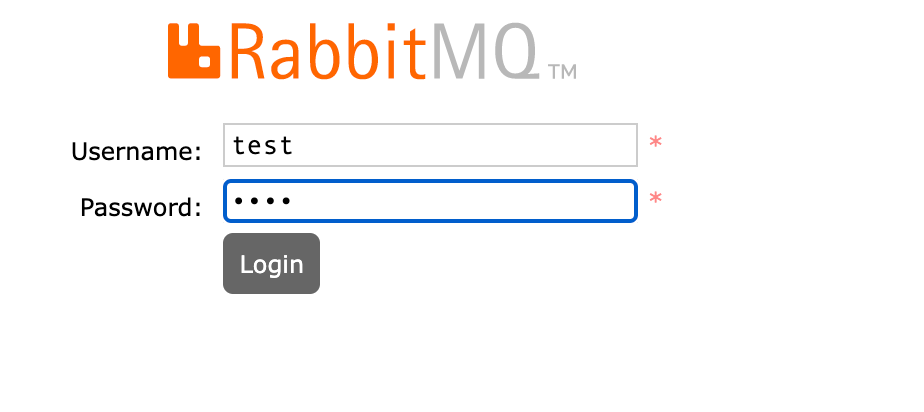
RabbitMQ 도커 컨테이너가 잘 구동되었다면 http://localhost:15672로 접속하면 아래와 같이 RabbitMQ UI로 접속할 수 있는 화면이 나온다.
Client Service 수정하기
마이크로 서비스에서 사용되는 모든 서비스에 spring-cloud-starter-bus-amqp Dependancy를 추가하자.
// Spring Cloud bus
implementation group: 'org.springframework.cloud', name: 'spring-cloud-starter-bus-amqp'
다음으로, application.yml 파일에 RabbitMQ 설정을 추가한다.
# Spring Boot 설정
spring:
  rabbitmq:
    host: localhost    # 호스트 주소, 클라우드를 이용하는 경우 클라우드 공인 IP
    port: 5672         # Rabbit MQ 서버 포트
    username: test     # Docker Compose 파일에 작성한 username
    password: test     # Docker Compose 파일에 작성한 password
application:
    name: nbbang-auth
  profiles:
    active: local
  config:
    import: optional:configserver:<http://localhost:8197>   # Spring Cloud Config Server 주소

# acutator
management:
  endpoints:
    web:
      exposure:
        include: busrefresh  # /actuator/busrefresh 엔드포인트로 호출하기 위해 사용
Spring Boot 2.4 버전부터는 actuator의 엔드포인트가 bus-refresh에서 busrefresh로 변경되었다.
마지막으로, 변경된 설정값을 최신 상태로 갱신이 필요한 빈에 @RefreshScope 애노테이션을 추가해준다.
@RefreshScope
public class AuthController {
    private final MemberService memberService;
    private final SocialTypeMatcher socialTypeMatcher;
    private final TokenService tokenService;

    @Value("${common.test}")
    private String common;

    @Value("${nbbang.auth.test}")
    private String nbbang;

    @GetMapping(value = "/properties/test")
    public Object refreshScopeTest() {
        Map<String, String> test = new HashMap<>();
        test.put("common", common);
        test.put("nbbang", nbbang);

        return test;
    }

		...
}
설정 정보 변경 확인
현재 아래와 같이 nbbang-auth-local.yml 파일에는 common.test 값이 WHY DOESN’T WORK!! 값이 입력되어 있고,
nbbang-gateway-local.yml 파일의 common.test에는 Before Refresh Scope이라고 값이 설정되어 있다.


이제 nbbang-auth-local.yml파일과 nbbang-gateway-local.yml 파일 내 common.test값을 각각 수정한 후 /actuator/busrefresh 엔드포인트를 아무 서비스 포트에서 호출하면 204 No Content를 Response 하고 반영된다.
POST localhost:8800/nbbang-auth/actuator/busrefresh # nbbang-auth에서 acutuator 호출
nbbang-auth와 nbbang-gateway 두 개를 수정했기 때문에 nbbang-auth에서 호출했더라도 nbbang-gateway도 설정 정보가 최신으로 갱신되었는지 확인이 필요하다.


한 곳에서 호출했지만, RabbitMQ와 연결된 서비스의 설정 정보가 모두 변경된 것을 확인할 수 있다.
📄 References
[spring boot 설정하기 - 14] spring cloud config (1) 설정 및 테스트 소스 : https://otrodevym.tistory.com/entry/spring-boot-설정하기-14-spring-cloud-config-설정-및-테스트-소스?category=815039
'Backend > Spring Boot' 카테고리의 다른 글
| Custom Exception을 이용한 예외 처리 (0) | 2022.05.22 |
|---|---|
| Request 스코프와 Proxy (0) | 2022.05.16 |
| 싱글톤 스코프, 프로토타입 스코프 (0) | 2022.05.03 |
| Spring Data JPA의 Page와 Slice (0) | 2022.05.02 |
| Spring Data JPA를 이용해 커서 페이징 구현하기 (0) | 2022.05.01 |